


KC3D LLC
Wheel Pants Axle Brace Kit
Wheel Pants Axle Brace Kit
Couldn't load pickup availability
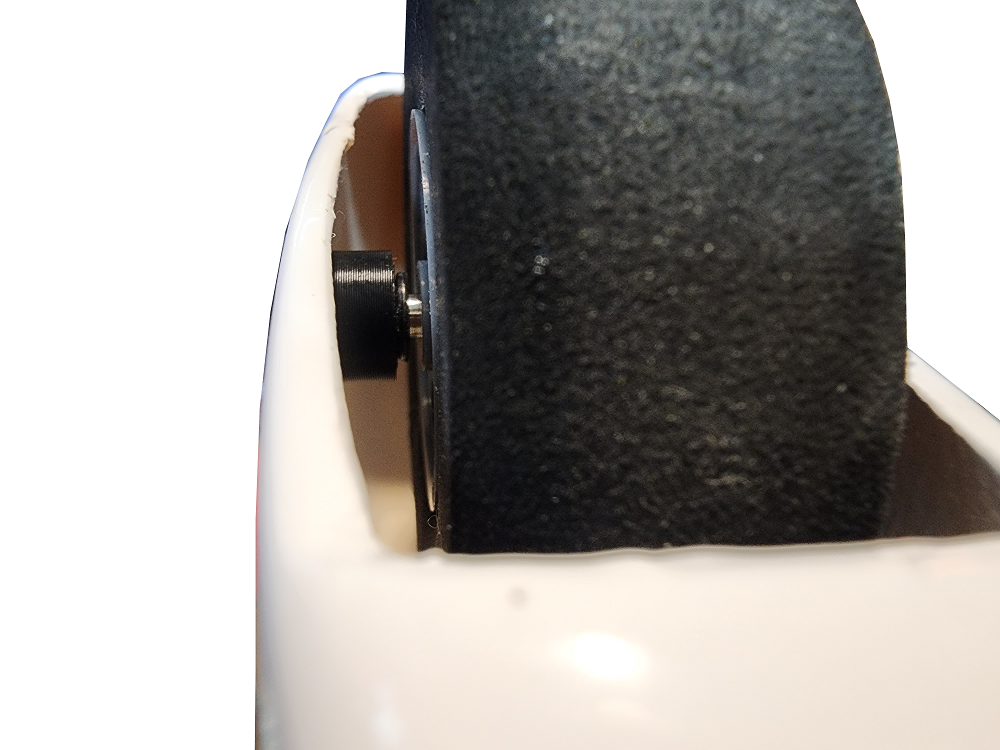
Most wheel pants are only supported on the inboard side, over time leading to fatigued fiberglass and, eventually, broken wheel pants. Using this brace kit you can add an axle support to the outboard side, greatly extending the life of your wheel pants. This is a near-universal kit intended to support a wide variety of axle sizes and spacings, but do note that due to the universal nature of the kit, some additional modifications to the parts may be required beyond the normal amount for some aircraft.
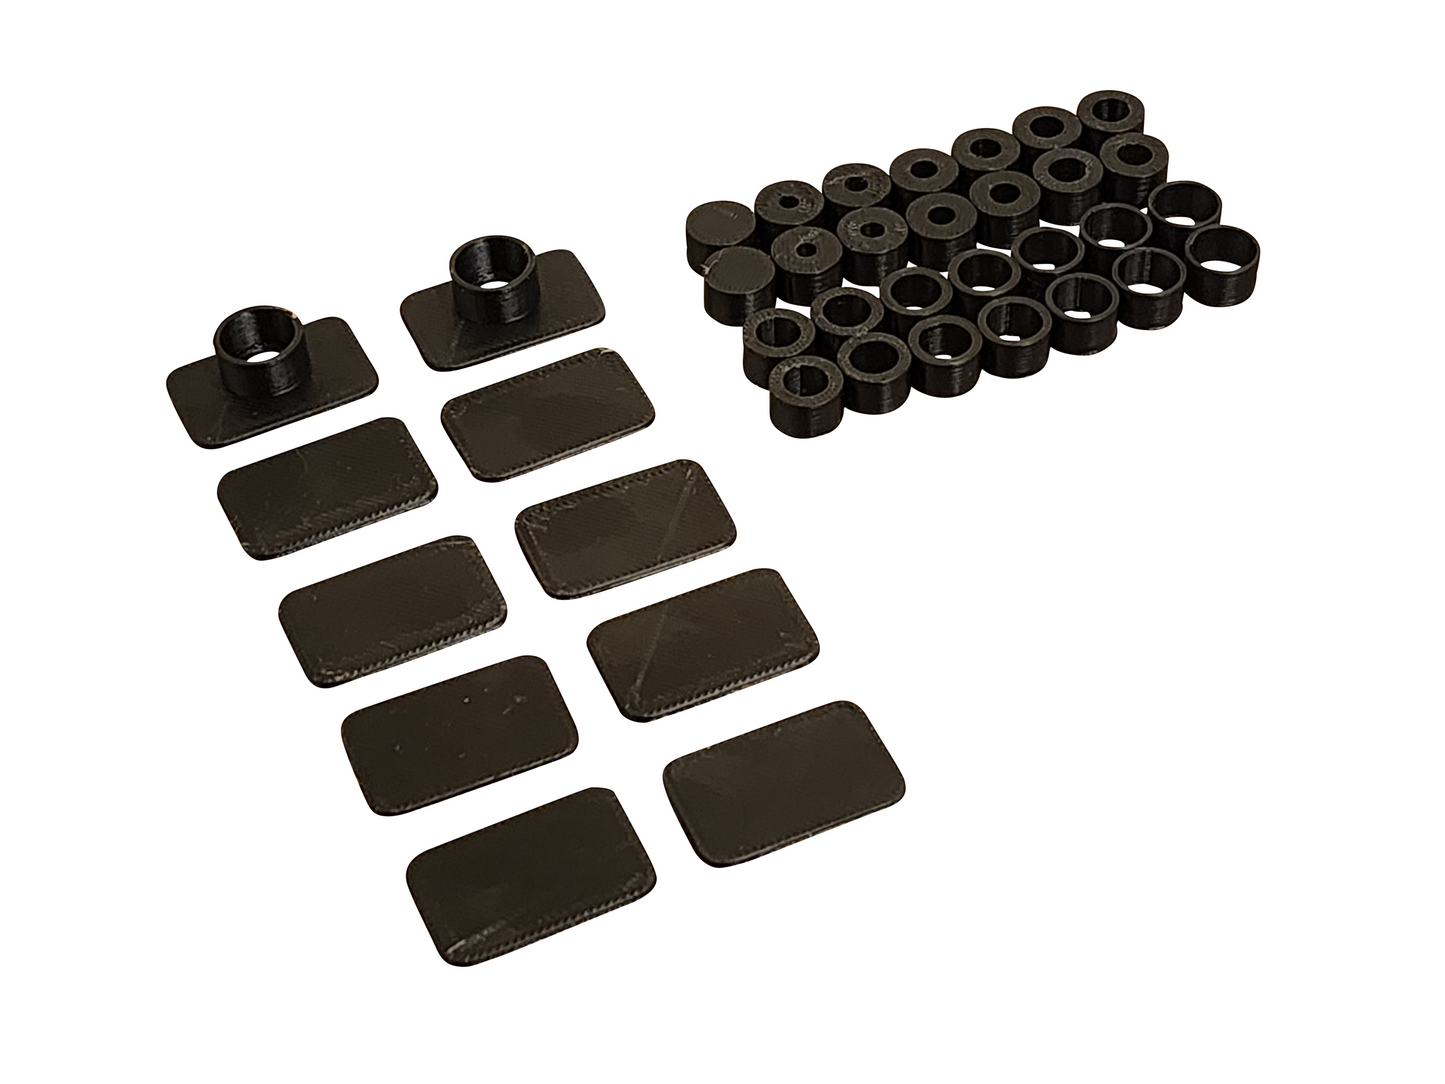
The package content includes:
2 x Main Support Brackets
8 x 1mm Spacers
26 x Axle Inserts varying in size from 3mm to 9mm (in 0.5mm increments)
2 x Axle Inserts with no through-hole (can be used for special situations)
To install, follow the instructions below:
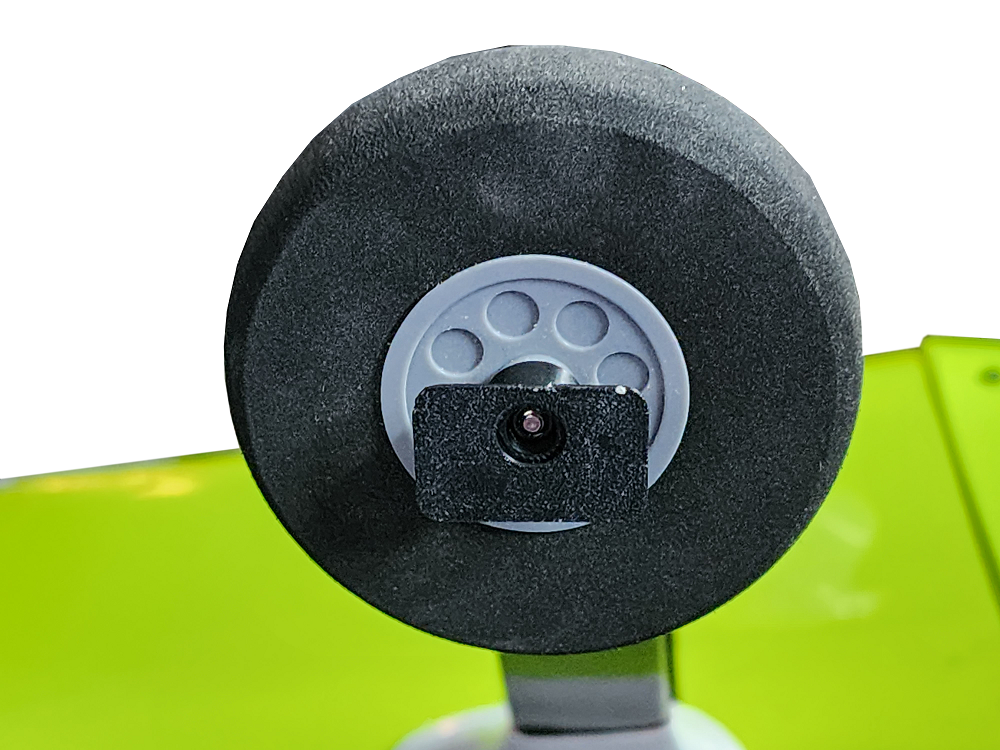
1. First, find the axle inserts that best fit your axles. For best results, find one that is a snug but not-too-tight fit on the axle. For example, the 6mm insert fits great on M3 locknuts.
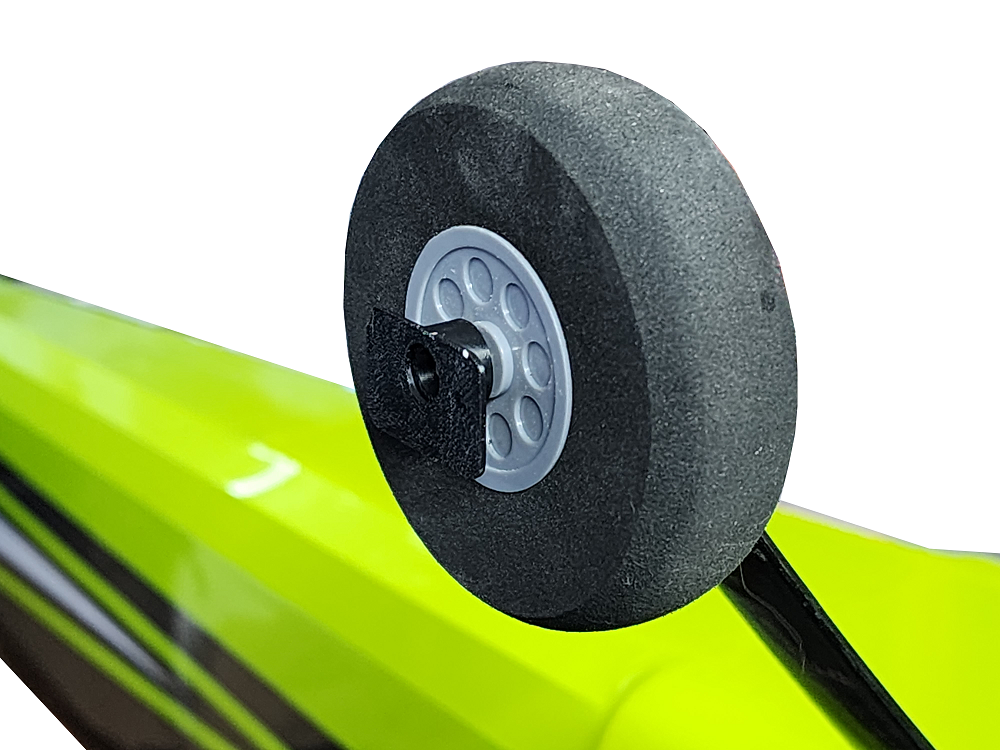
2. Once the correct insert is found, remove from the axle and carefully press them into the main support brackets. If you want you can add some CA glue or epoxy before inserting, but this is not usually required.
3. Reinstall the bracket onto the wheel axle and fit the wheel pants. Observe the spacing between the bottom of the bracket and the inside of the wheel pant. If you can feel the pant flexing significantly as you press it into the axle brace, remove the bracket, and CA glue or epoxy one of the included 1mm spacers to the bottom of the bracket and try again. Repeat this process until you achieve solid contact without applying pressure to the outside of the wheel pant. You may choose to add one extra spacer as well to induce positive pressure against the brace to help hold it against the axle while the glue dries.
4. Once a good fit is achieved, remove the wheel pants and apply a generous amount of 30 minute epoxy or JB weld to the bottom of the brace. It may help to let the epoxy begin to cure slightly before applying so that it thickens up and doesn't run, which also helps to fill any gaps caused by a sloped wheel pant wall.
5. Reinstall the wheel pants fully and allow the epoxy or JB weld to cure.
This product is always made to order, so lead-time before shipment may be as long as a week.
Share